So as many of those in the DIY world know- chalk paint is now THE thing. It creates an adorable matte finish, applies without priming, and distresses beautifully. It also costs $30 and up for a quart. Similar to chalk paint is milk paint. Milk paint does basically the exact same thing except it comes in powder form that you then mix with water yourself. The downside to milk paint is that it can be hard to find. With both you are somewhat limited on colors unless you're really comfortable mixing, shading, and tinting the paint yourself. That is not something I'm comfortable with so I did more research. After lots of web browsing, I figured out my own chalk paint solution. I mix plaster of paris with regular paint, voila!
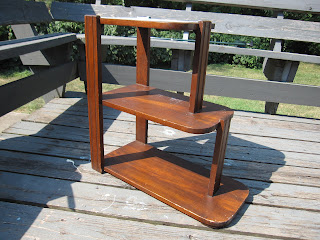
Here's the table at the start. It was an old sewing machine table that had been retro-fitted with an empty cabinet instead. In my home it will be used to hold my fish tank. It's the perfect size for my 10-gallon tank and the cabinet lets me hold all my fish supplies neatly out of sight. I found this table at an antique store in southeast Missouri for about $30.
 |
| The details on the table coordinate well with my existing furniture |
The next step was adding another color so that it wasn't just the dark wood showing on the distressed parts. I grabbed the sample pot of paint from the kitchen remodel (a pale yellow) and brushed it on the spots I would be sanding. I didn't bother mixing this with the plaster since very little would be seen in the end.
To add an aged look, I rubbed some wood stain on the edges and in corners. This was the scariest part for me but I practiced on the back until I was comfortable with amounts and types of strokes.
The two finished products!


No comments:
Post a Comment
Share your tips, ideas, or comments!